I get asked a lot about the steps of creation for my work. On this page I will list the steps from beginning to end on how I create a crystalline glazed piece.
It all starts with a proper clay body. Porcelain is the best clay body for crystalline glazes. Porcelain fires white and just like any painter knows a good white canvas is better than a dirty one. Stoneware has impurities in the clay body so when its fired they show up. I need a clean canvas for my glazes to look their best.
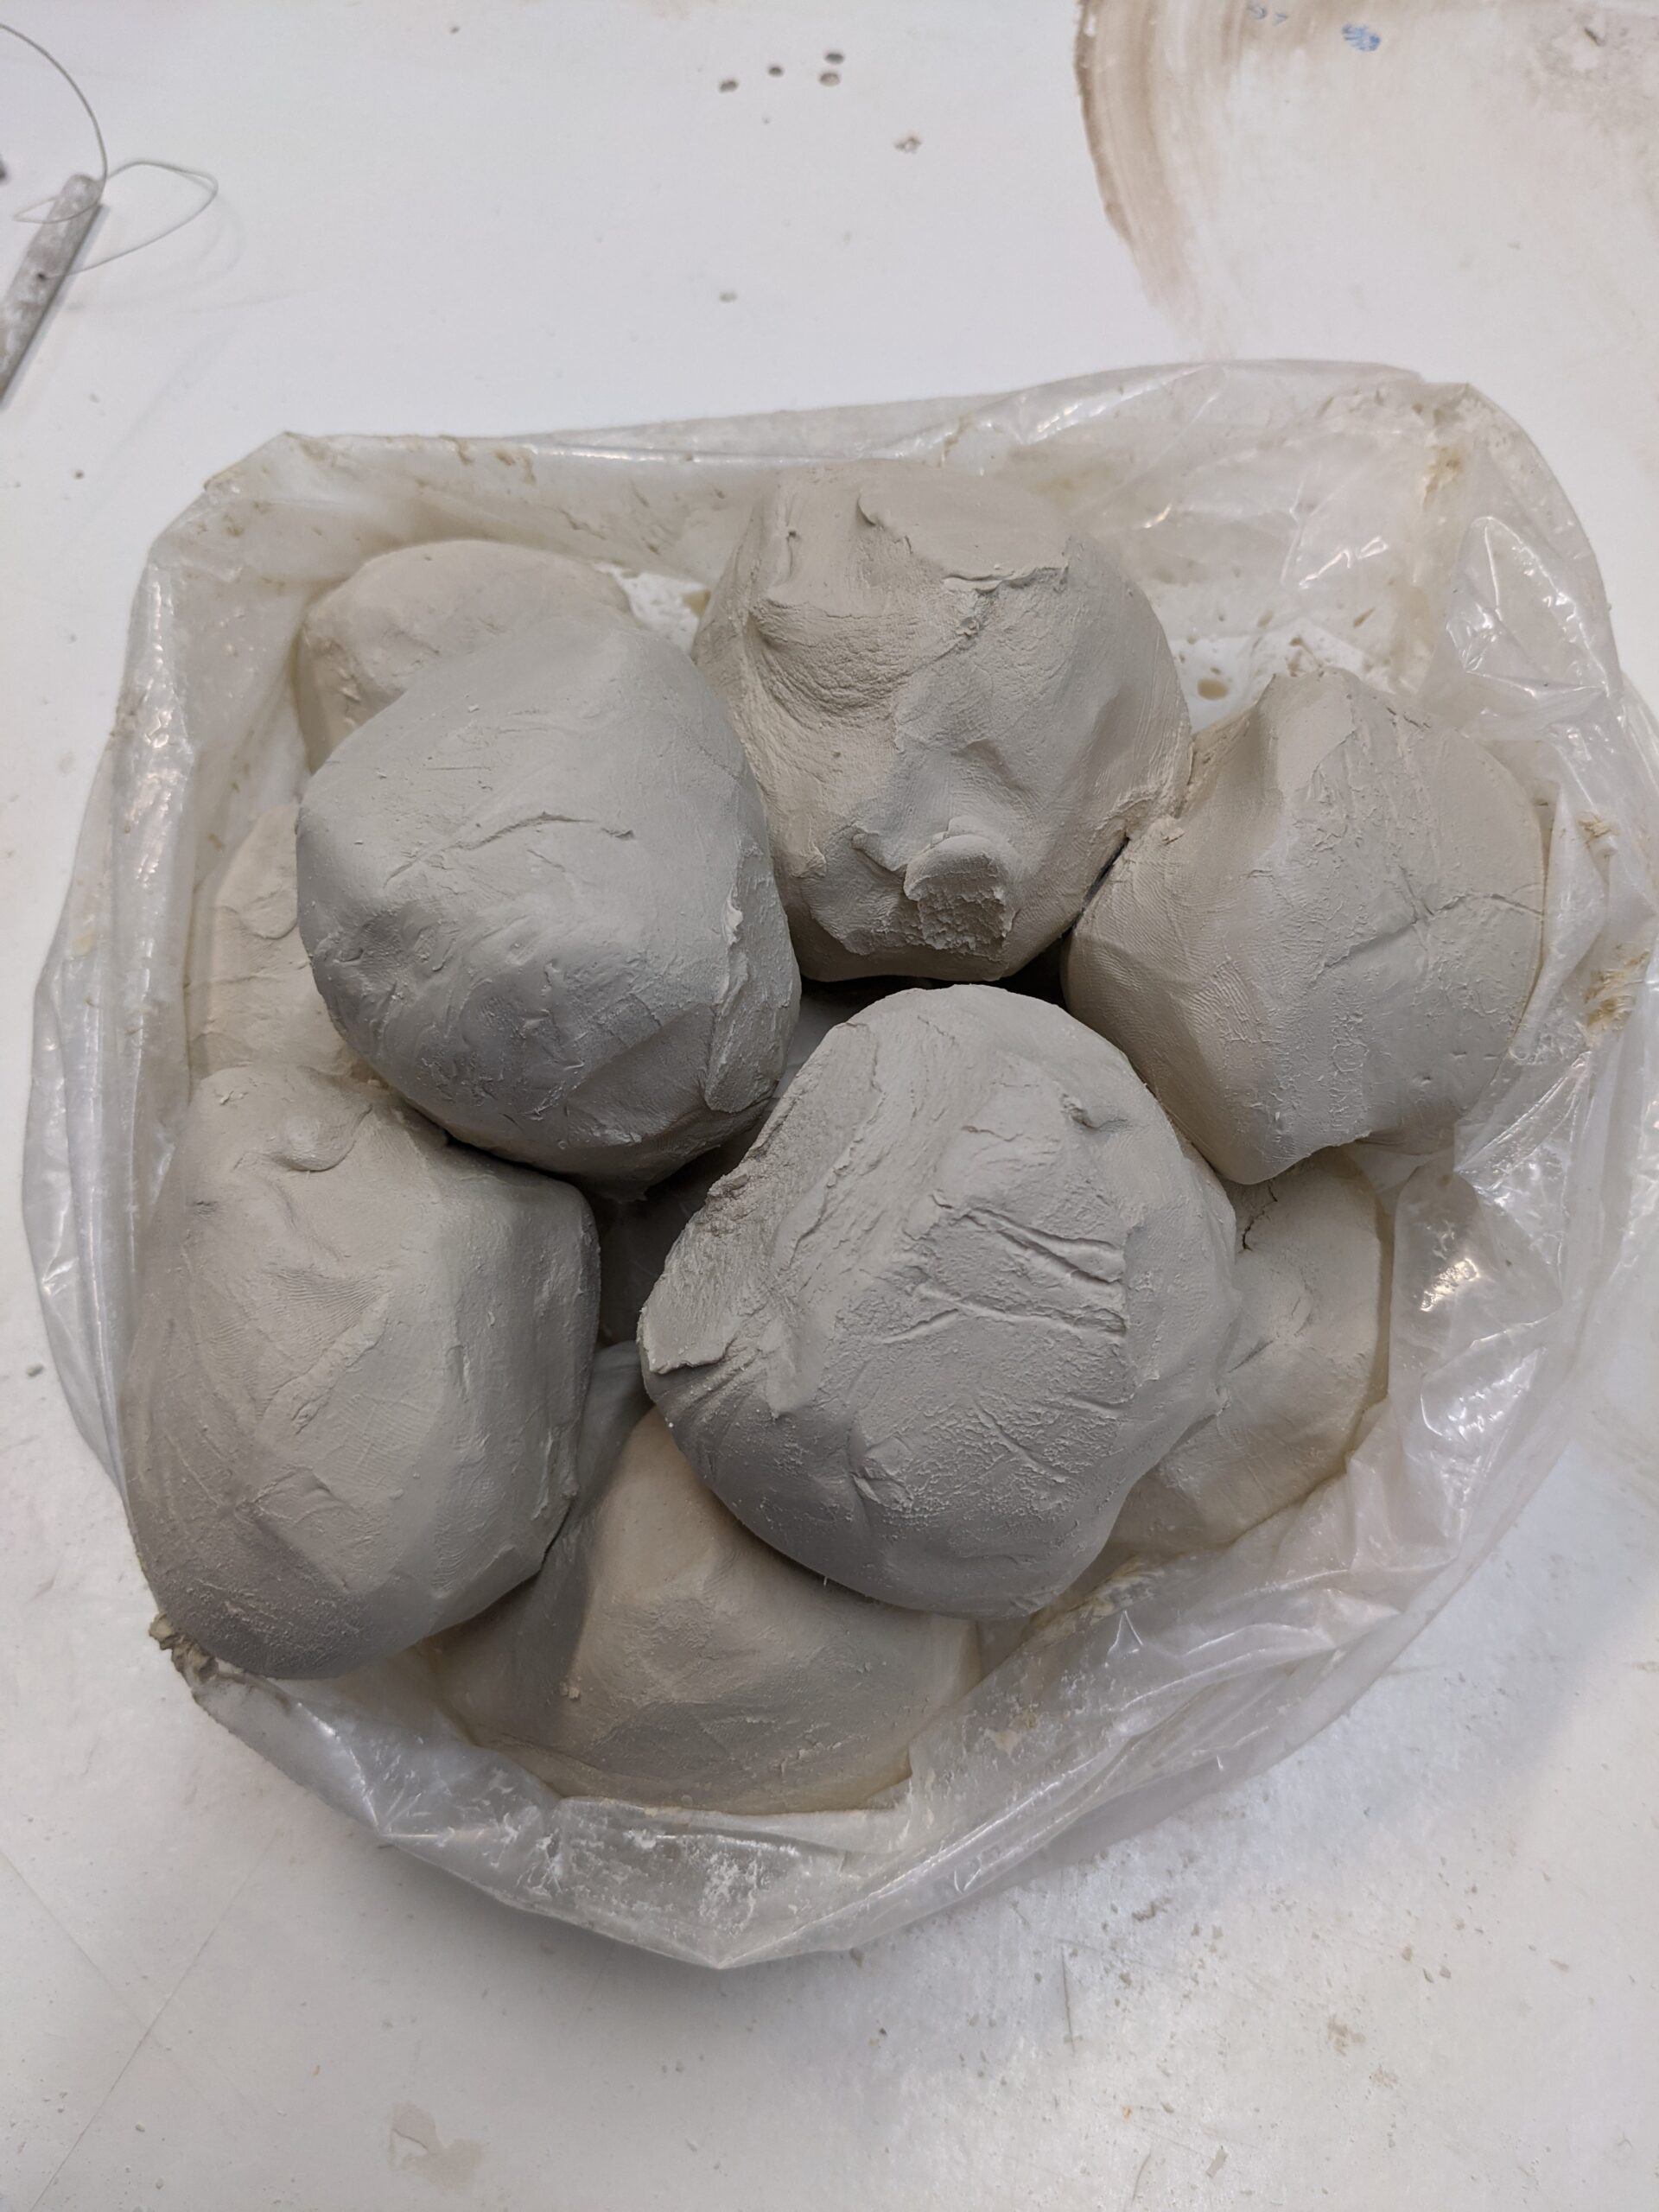
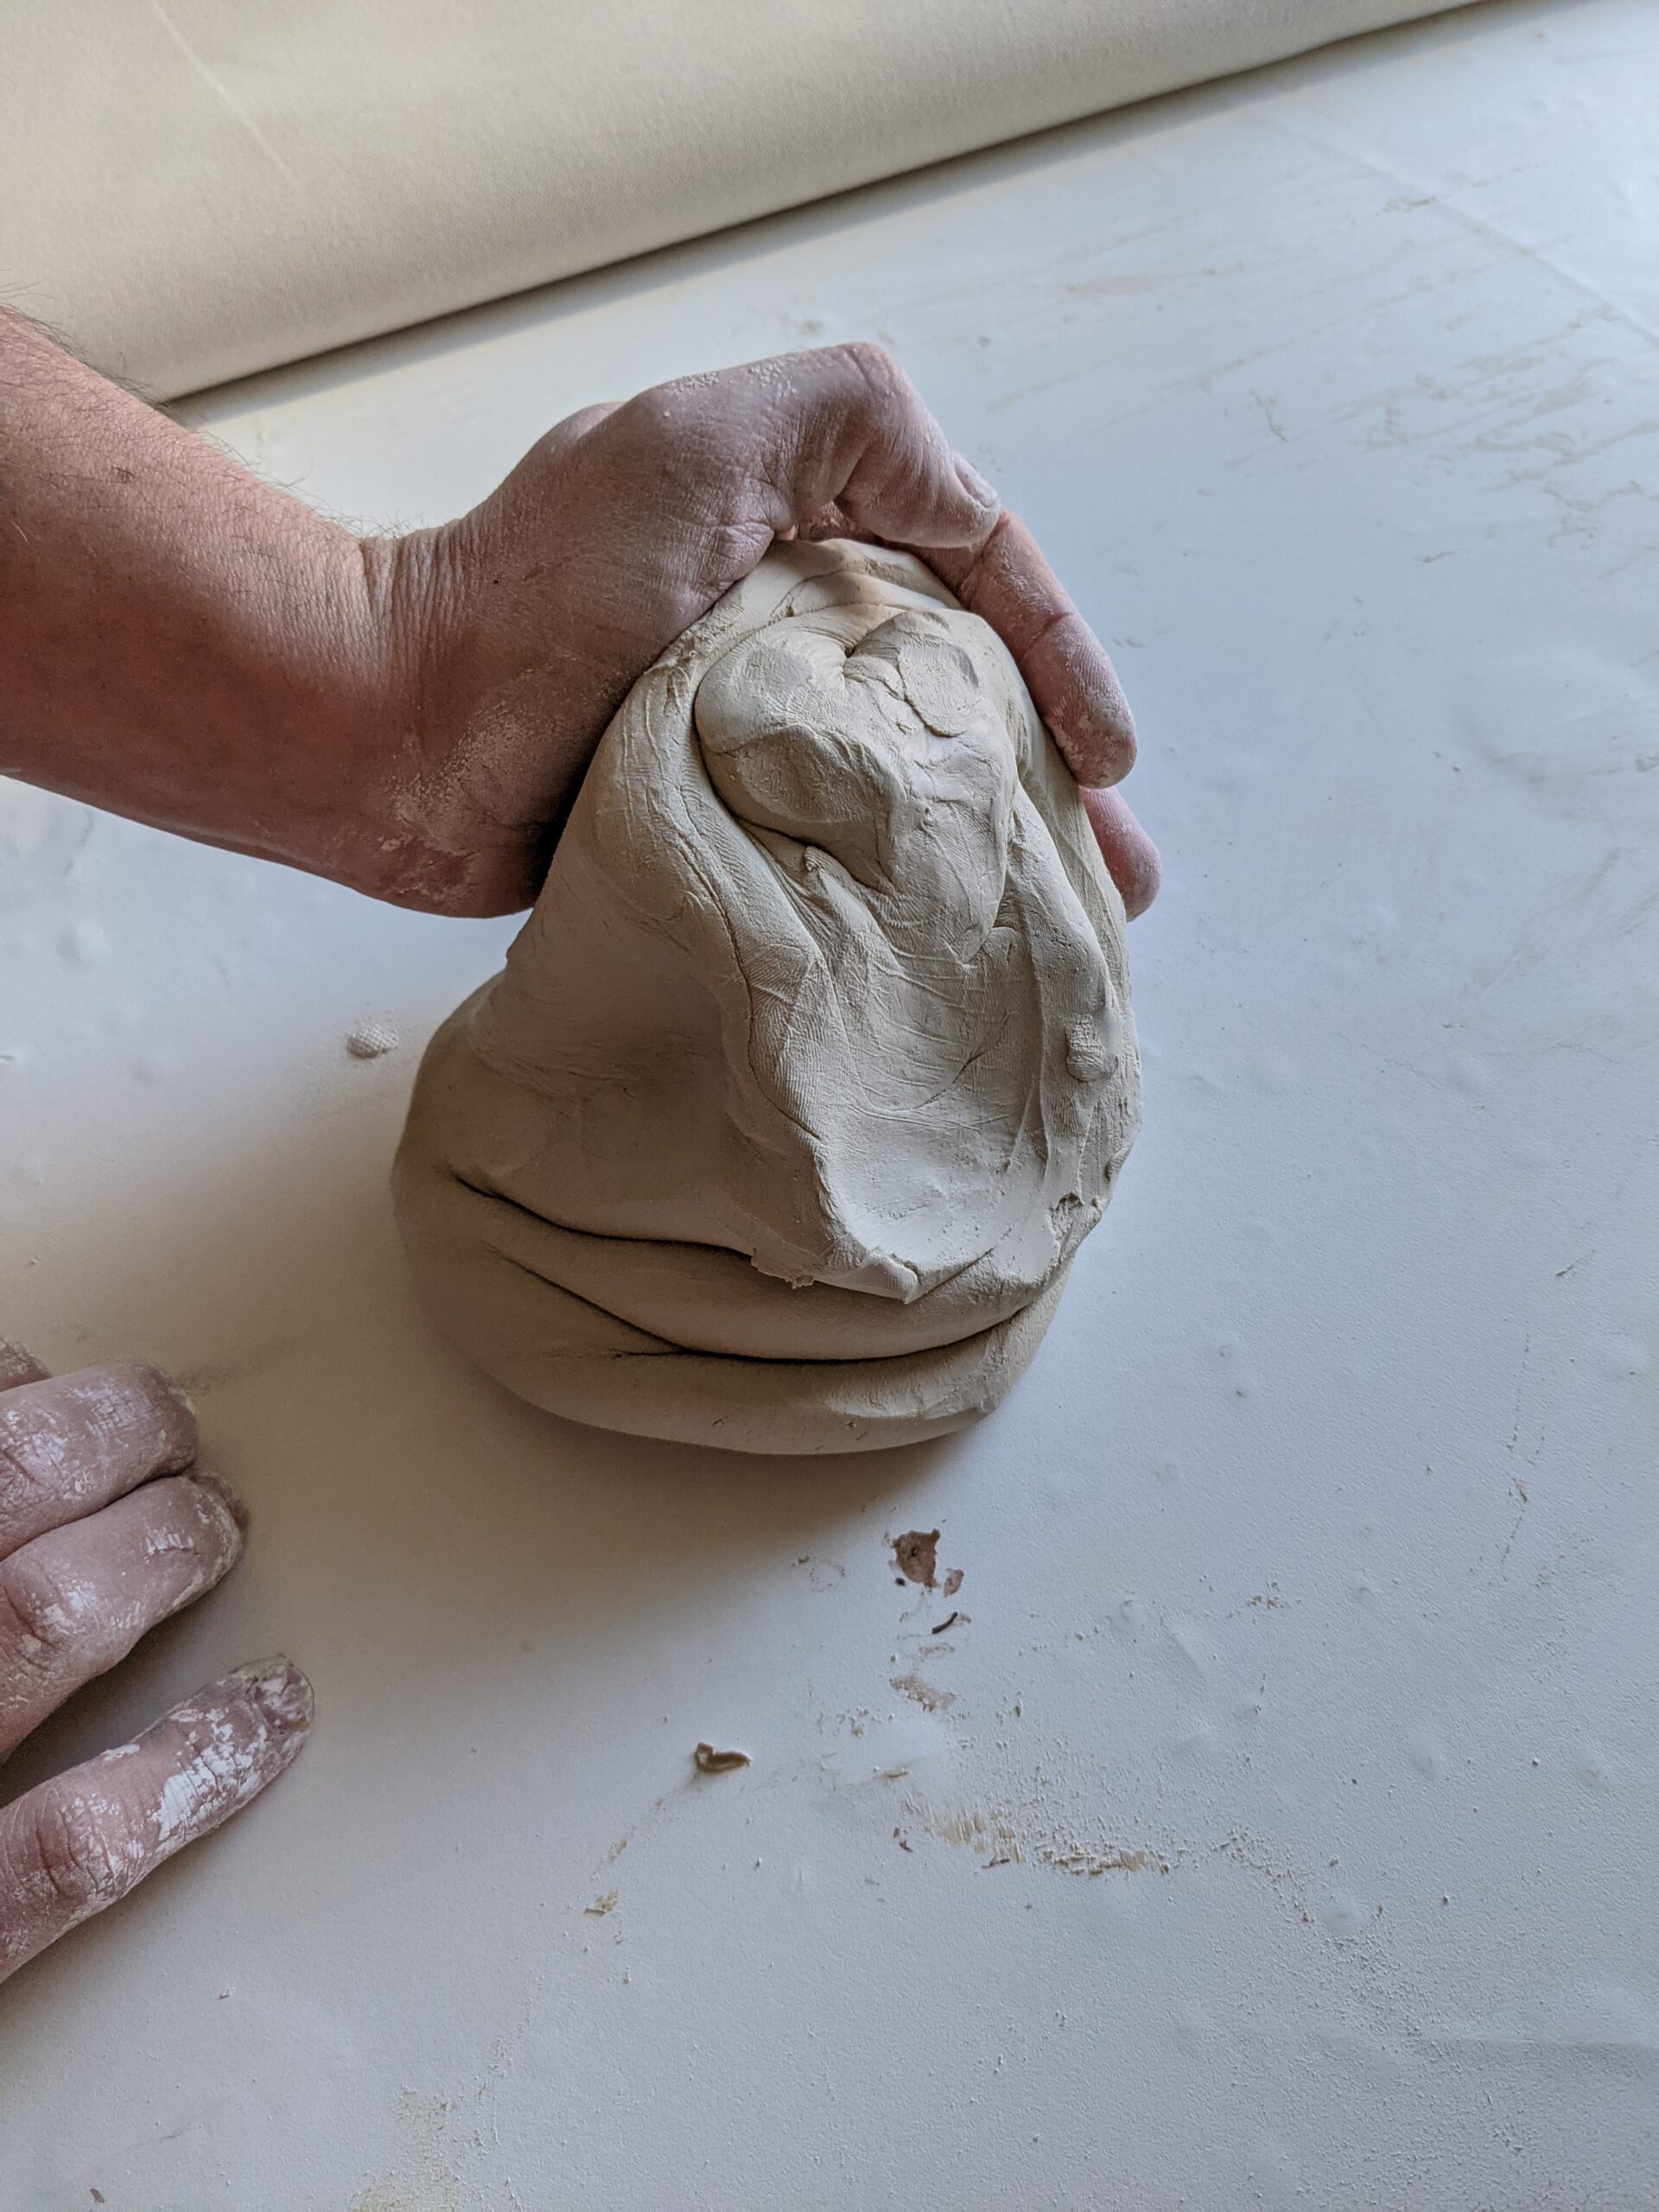
Before sitting down at the potters wheel I need to wedge the clay to remove any air pockets from it. I do this by making a circular motion with my hands and turning it back into itself. After about a minute it’s time to sit down at the wheel and throw. We use the term “throw” or “throwing” for the simple act of making an item on the potters wheel.
Today I think I’m going to make some vases. I start by wedging up the amount of vases I want to make. And then sit down at the potters wheel and get started. After I have thrown all the balls of clay into vases, they need to dry out a little before the next step which is trimming.
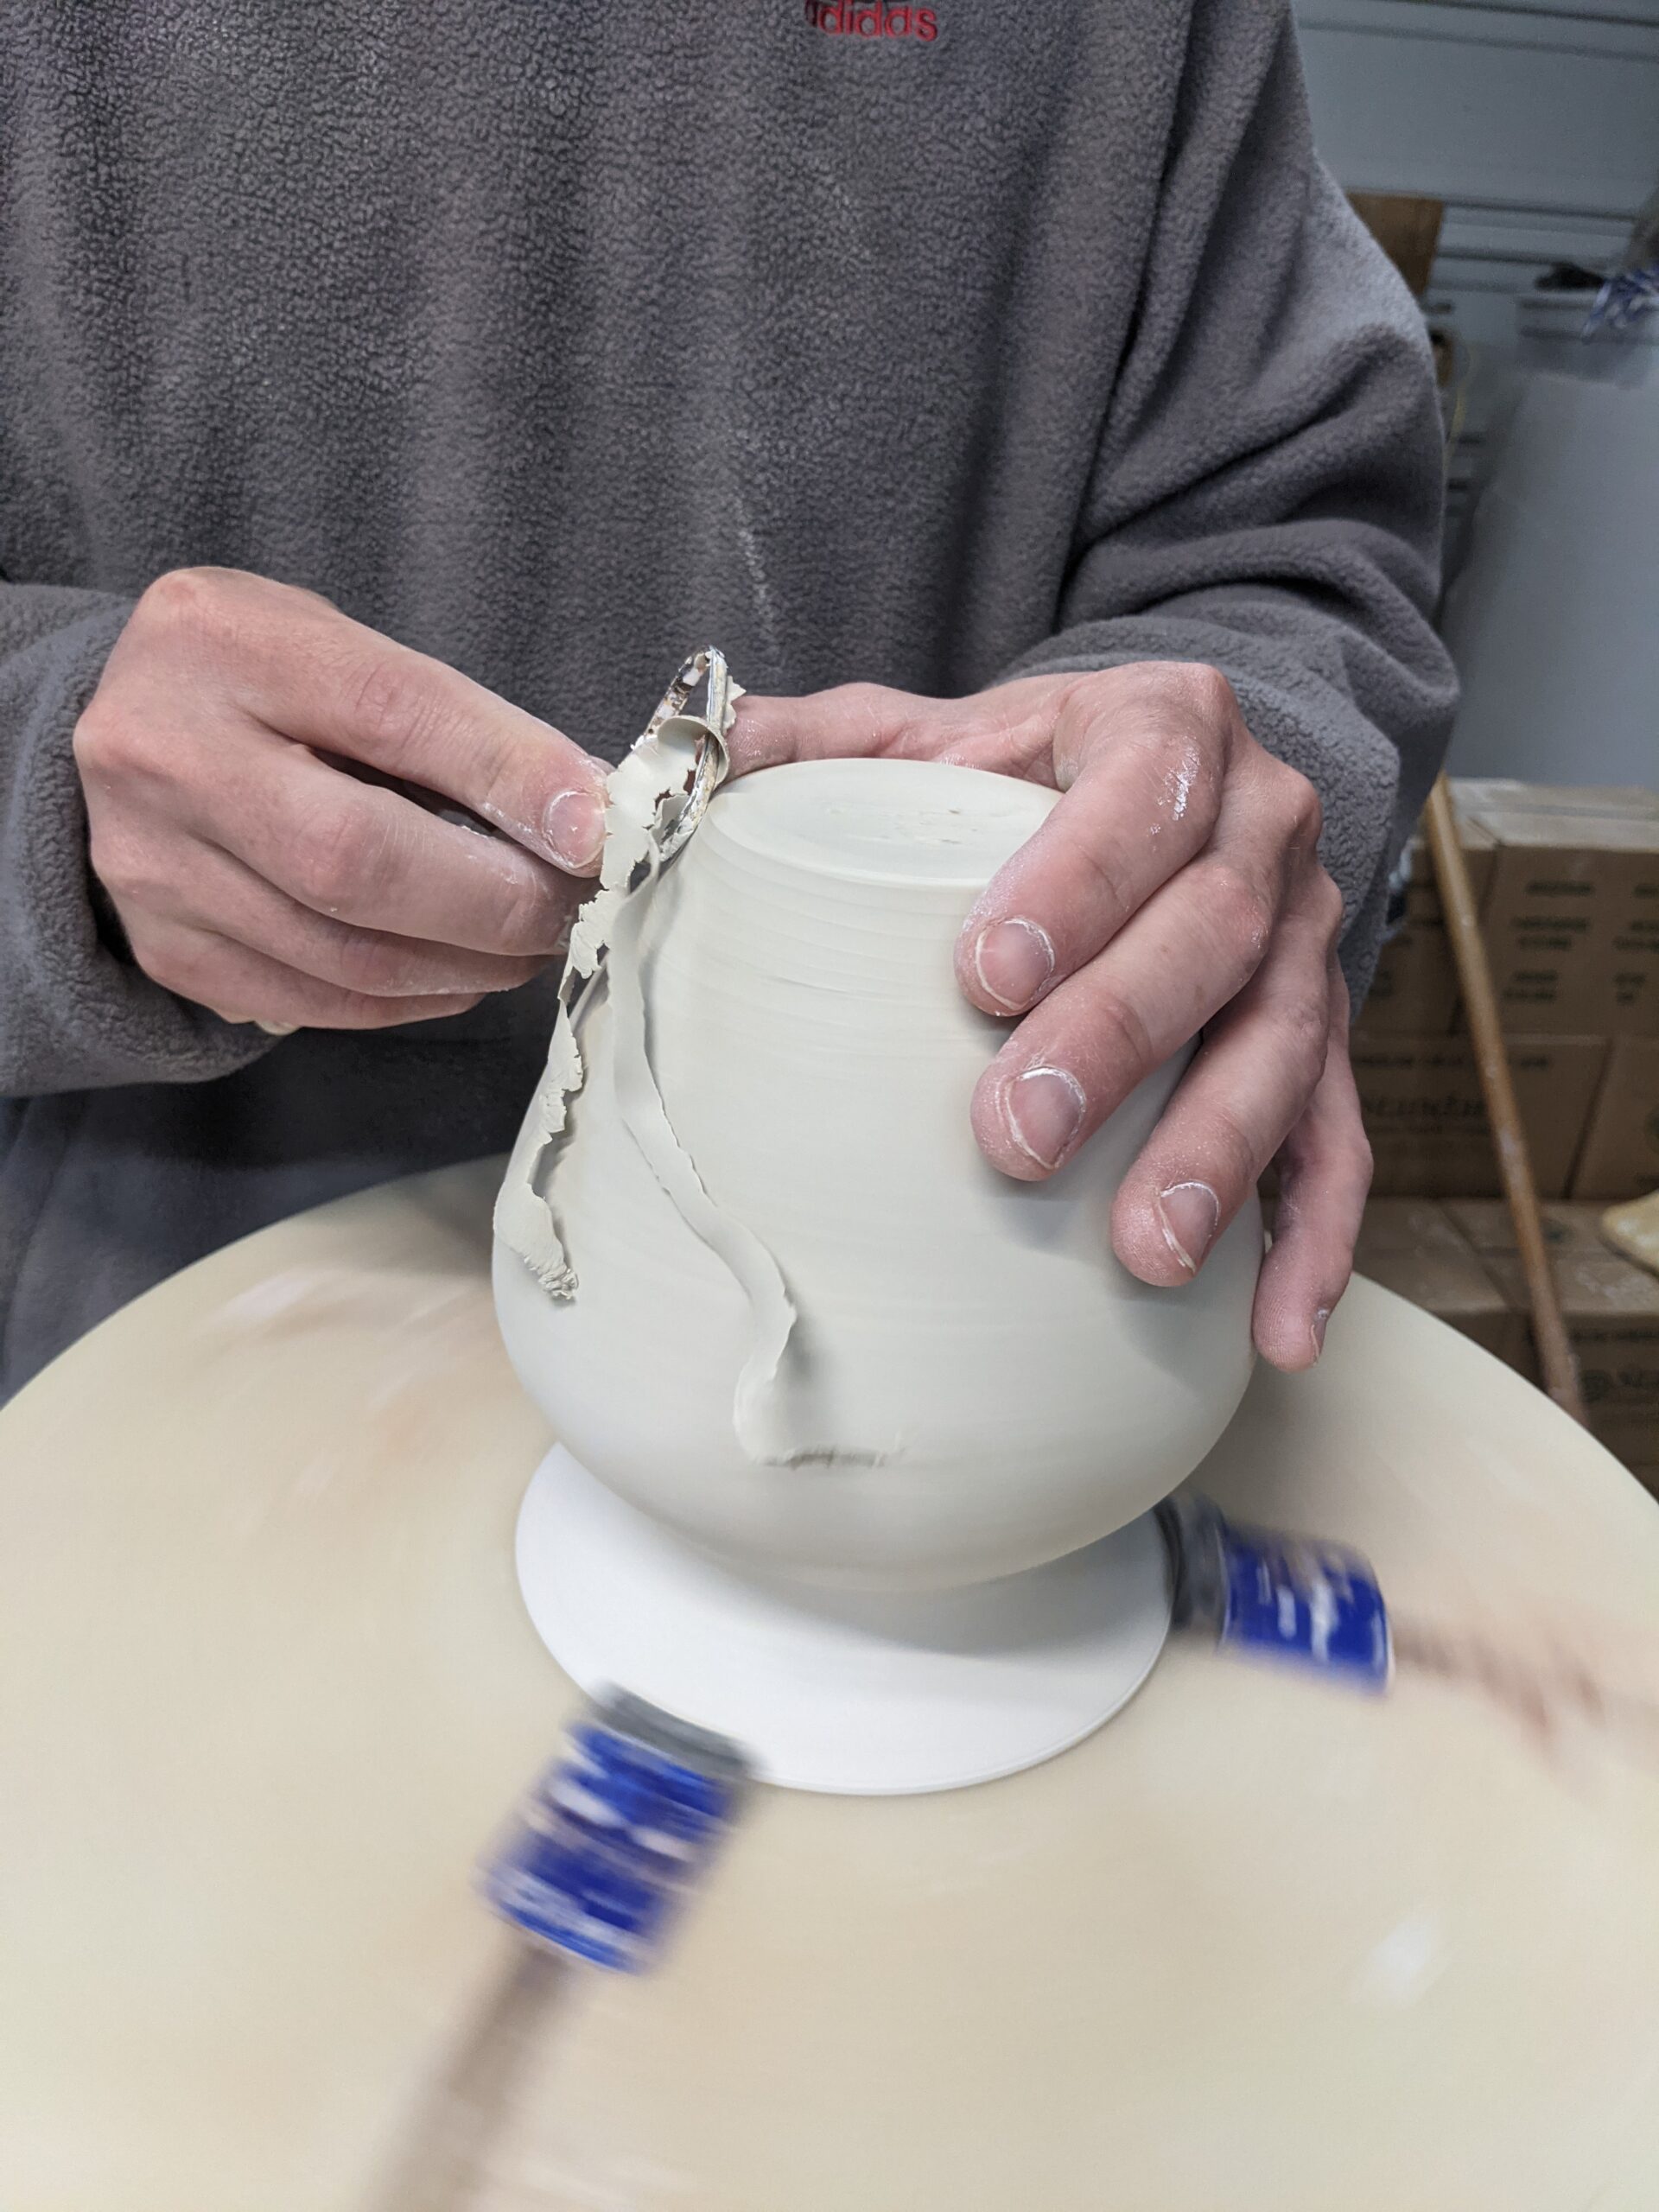
Trimming happens once the clay becomes “leather hard” a term that means firm but not completely dry. Trimming takes off any extra clay, or to help create the final shape, or make the walls of the pot even, or to add decoration. After this step the vase is allowed to dry completely.
After the vases have dried it’s time for their first firing. This first firing is called a bisque fire. I take the kiln up to 1800 degrees and at this temperature it turns the porcelain into stone. This temperature chemically changes the porcelain to stone and it can never be soft clay again. The vase at this stage is porous. Which means if you put water in it for flowers the water will seep out onto your table. It takes a second firing in a kiln for it to hold water and be vitrified.
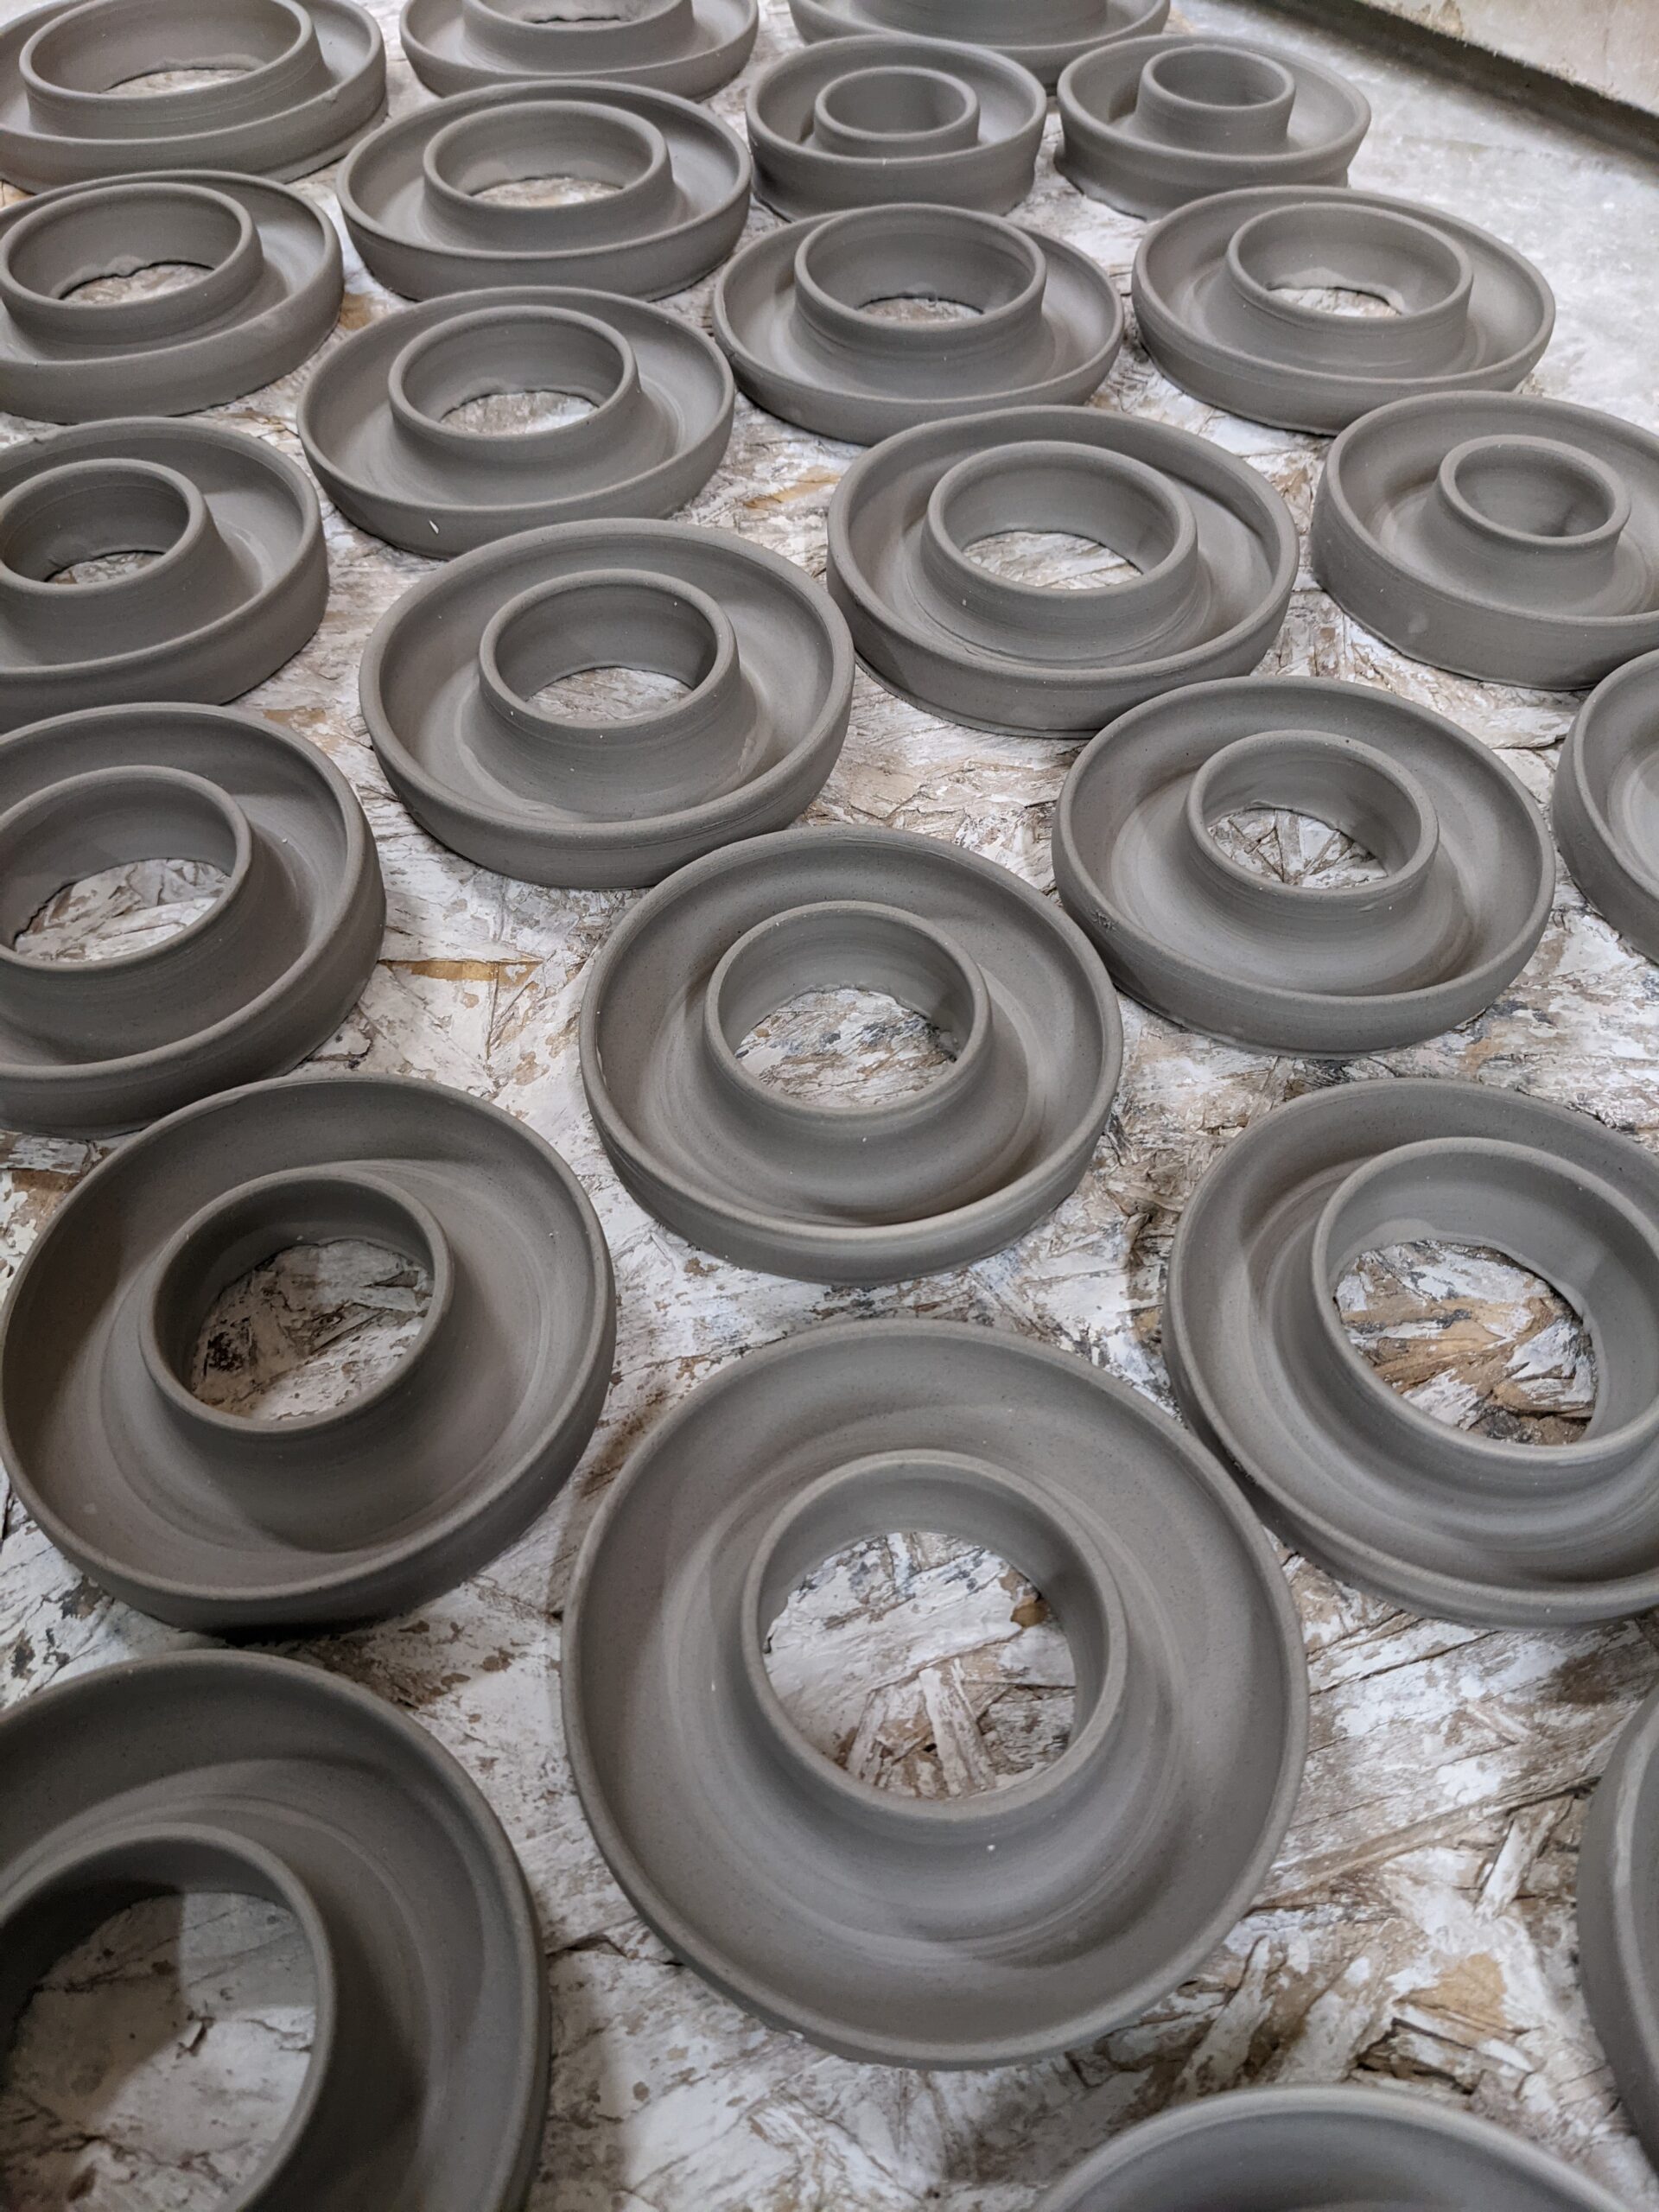
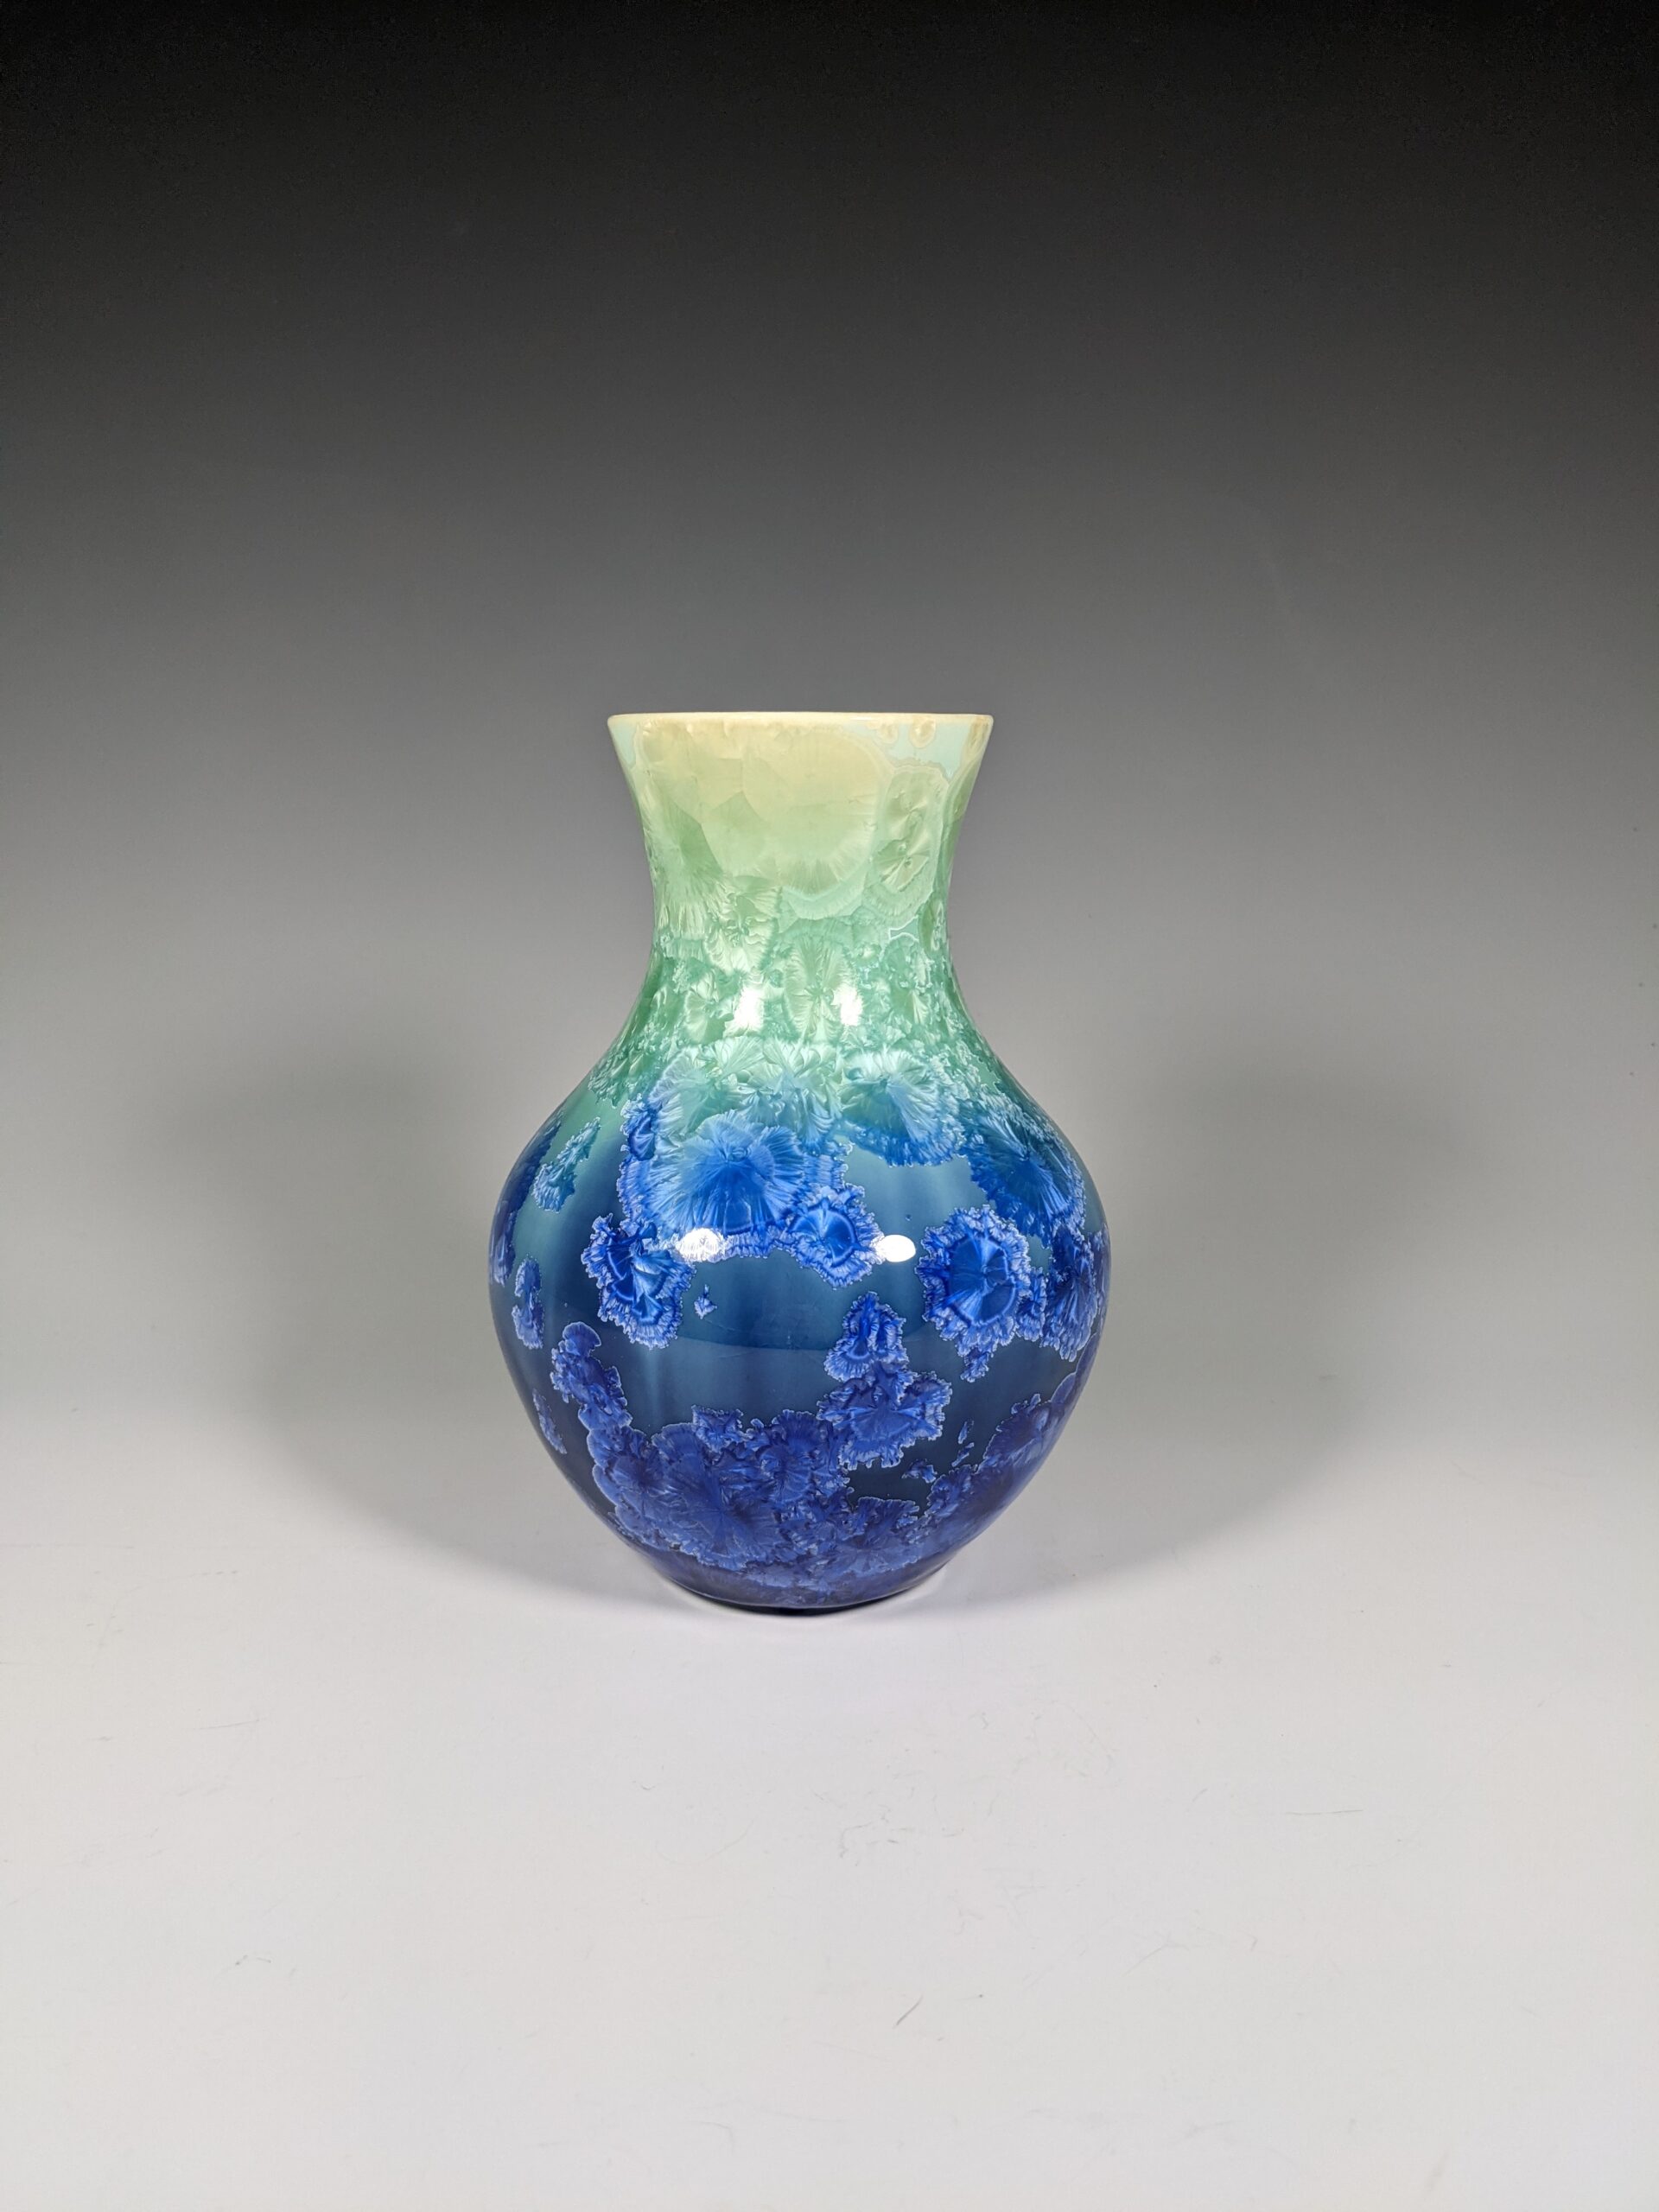
Next comes glazing the vase. I make all of my crystalline glazes and they are my own formula that I have tweaked and perfected over the years. I use rare earth metals and oxides like copper, cobalt, manganese, red iron oxide and so many more. Once the vase has been glazed it’s ready for its next kiln firing. With crystalline glazes there is an extra step I have to do that other potters don’t. Crystalline glazes becomes a runny liquid when fired. So I have to make a glaze catcher for every vertical piece I make. So every vase, mug, cup, bowl, and so on needs this extra thrown piece on bottom of it to catch the glaze that runs down in the firing. Or else the glaze would run off the vase and onto my kiln shelf and attach itself to it. Here is what a tray full of thrown glaze catchers look like.
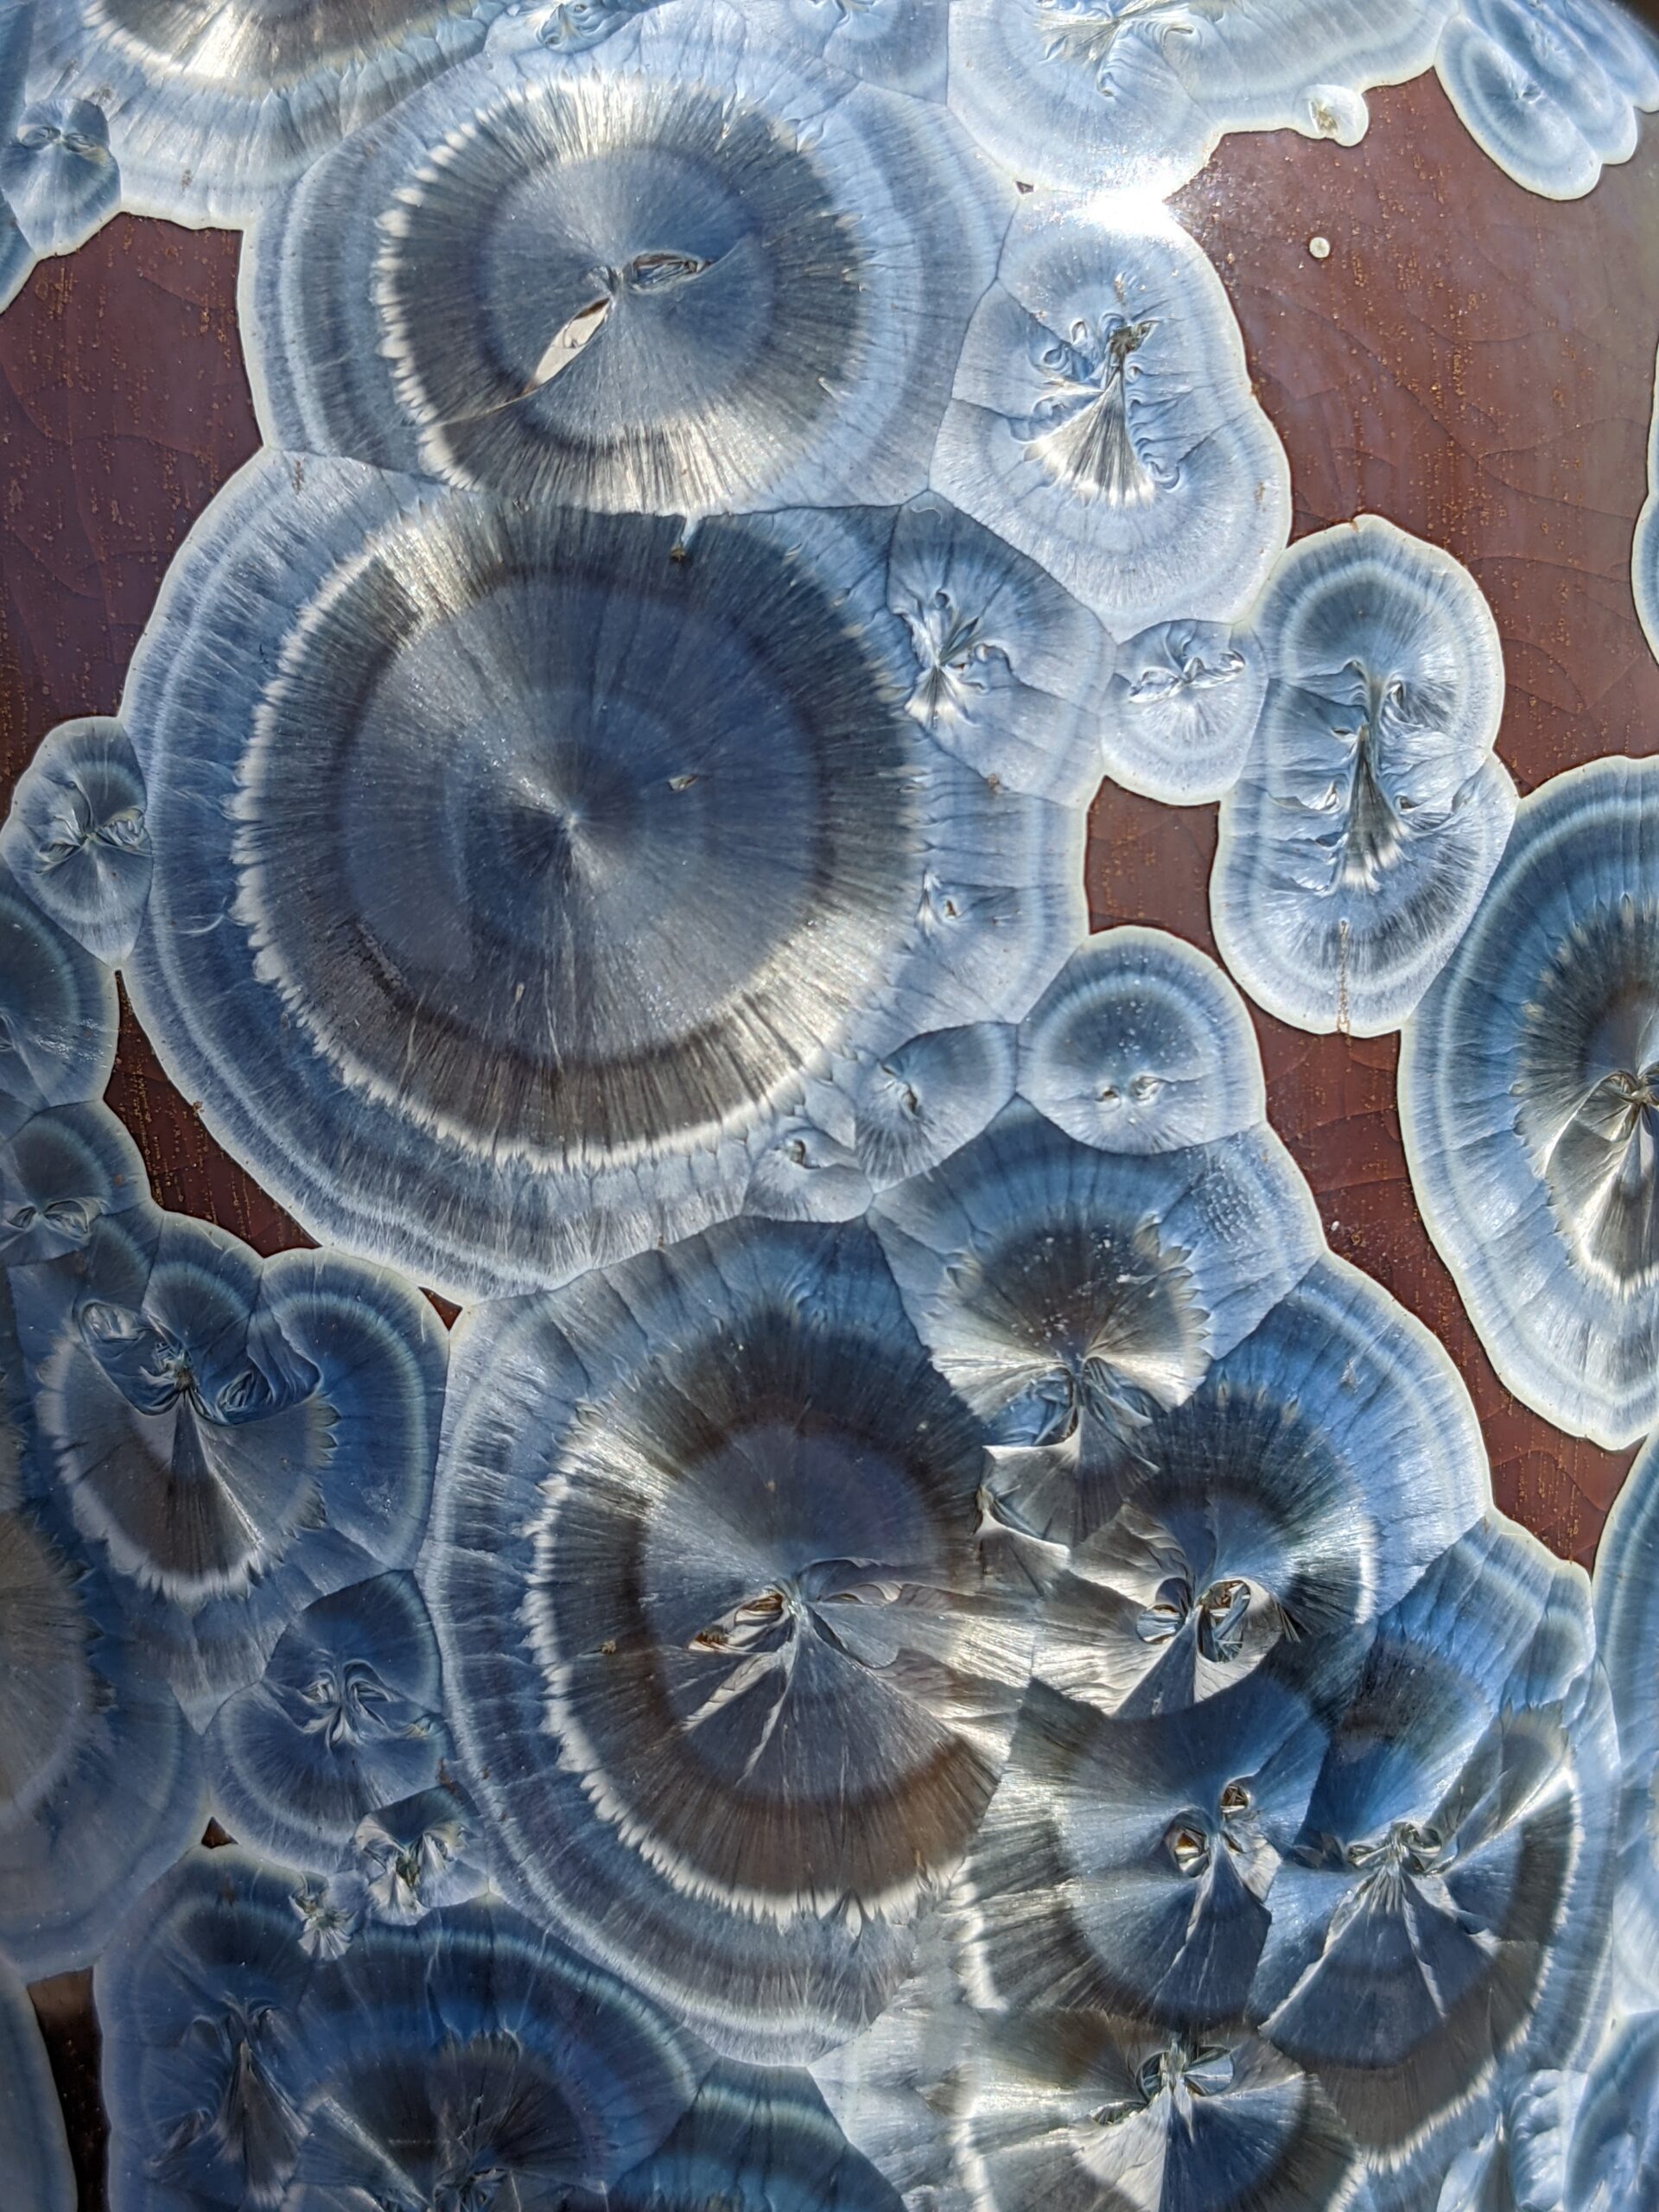
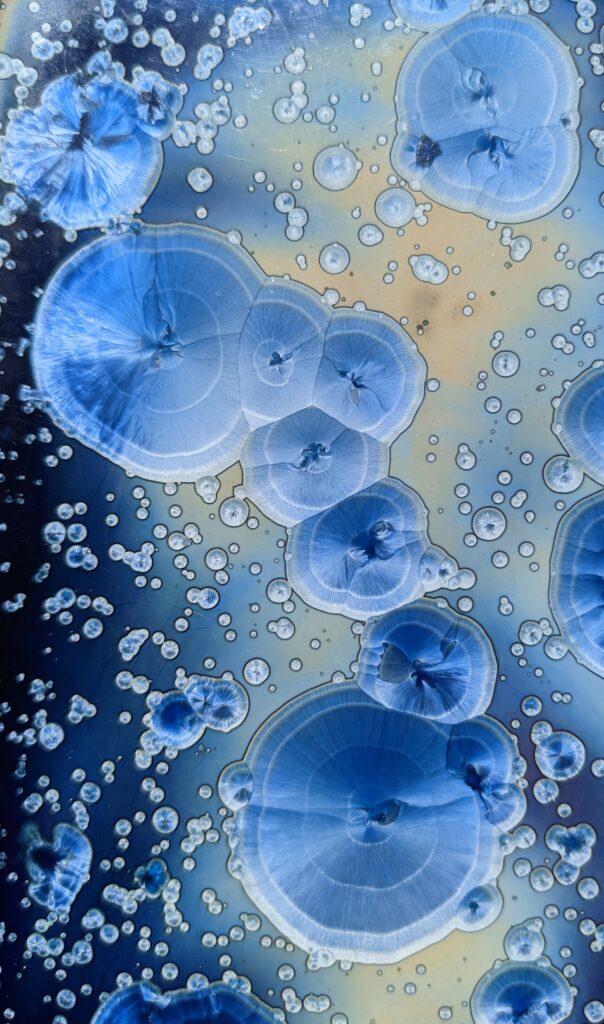
After I have my vase glazed and my catchers thrown it’s ready to be put in the kiln. During the glaze firing is when all the magic happens. This is when all of the ingredients melt together to make that perfect molten solution that over the next 20 hours get manipulated to create crystals. I fire my glaze kilns to around 2300 degrees then drop the temperature several times during the firing to create and then grow the crystal. Each temperature drop and hold can grow a new ring in the crystal makeup. This has taken years of trial and error to figure out what temperature to hold the kiln at to grow the crystals. If I’m off by a couple of degrees on too many of the temperatures the crystal growth will fail. If the holds are too hot you will burn out the crystals, or too cold and you will have too many crystals Playing with the temperature and time of the holds will allow me to design what each crystal will look like in the end. It’s important to note that I cannot place where I want the crystals to grow, that happens on its own. I can however control how large they get with the temperature settings I use. A glaze kiln firing lasts around 36-48 hours from start to completely cool.
After unloading the vases from the kiln the next step is to knock off the bottom glaze catchers that have become attached during the firing. I dip each glaze catcher in a solution that resists the glaze to help remove it after the firing.
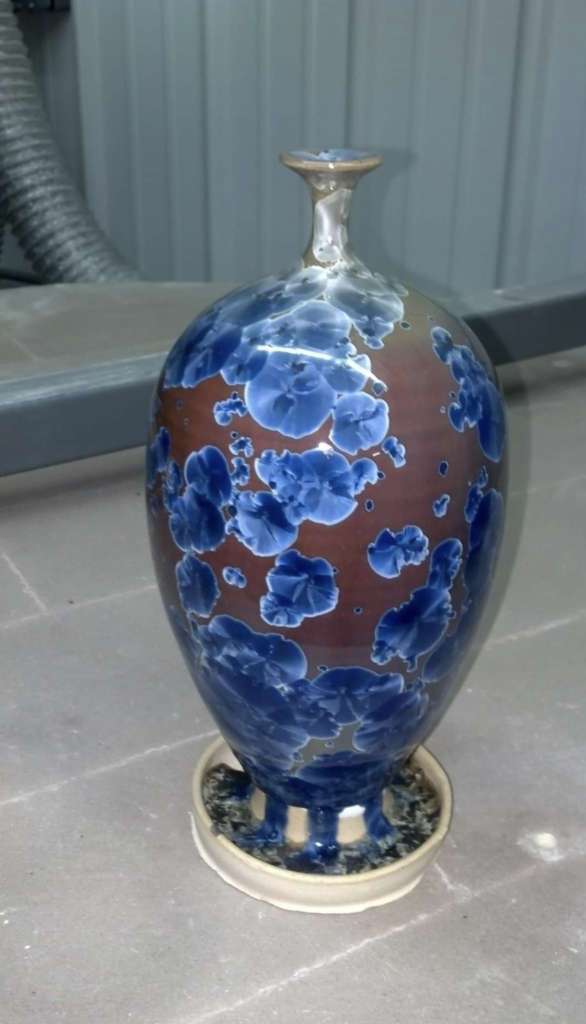

I then have to grind each vase or vertical piece that was in the kiln. This step ensures that I get any excess catcher off and creates a flat bottom for the piece. This is an extra step that non crystalline glaze potters don’t have to do. After I grind the vase it is complete and ready for sale. I currently sell my completed work at art shows, galleries, Etsy, and on this web page. I hope the description of the process helps you better understand my small business.
A Post Fire Reduction Firing
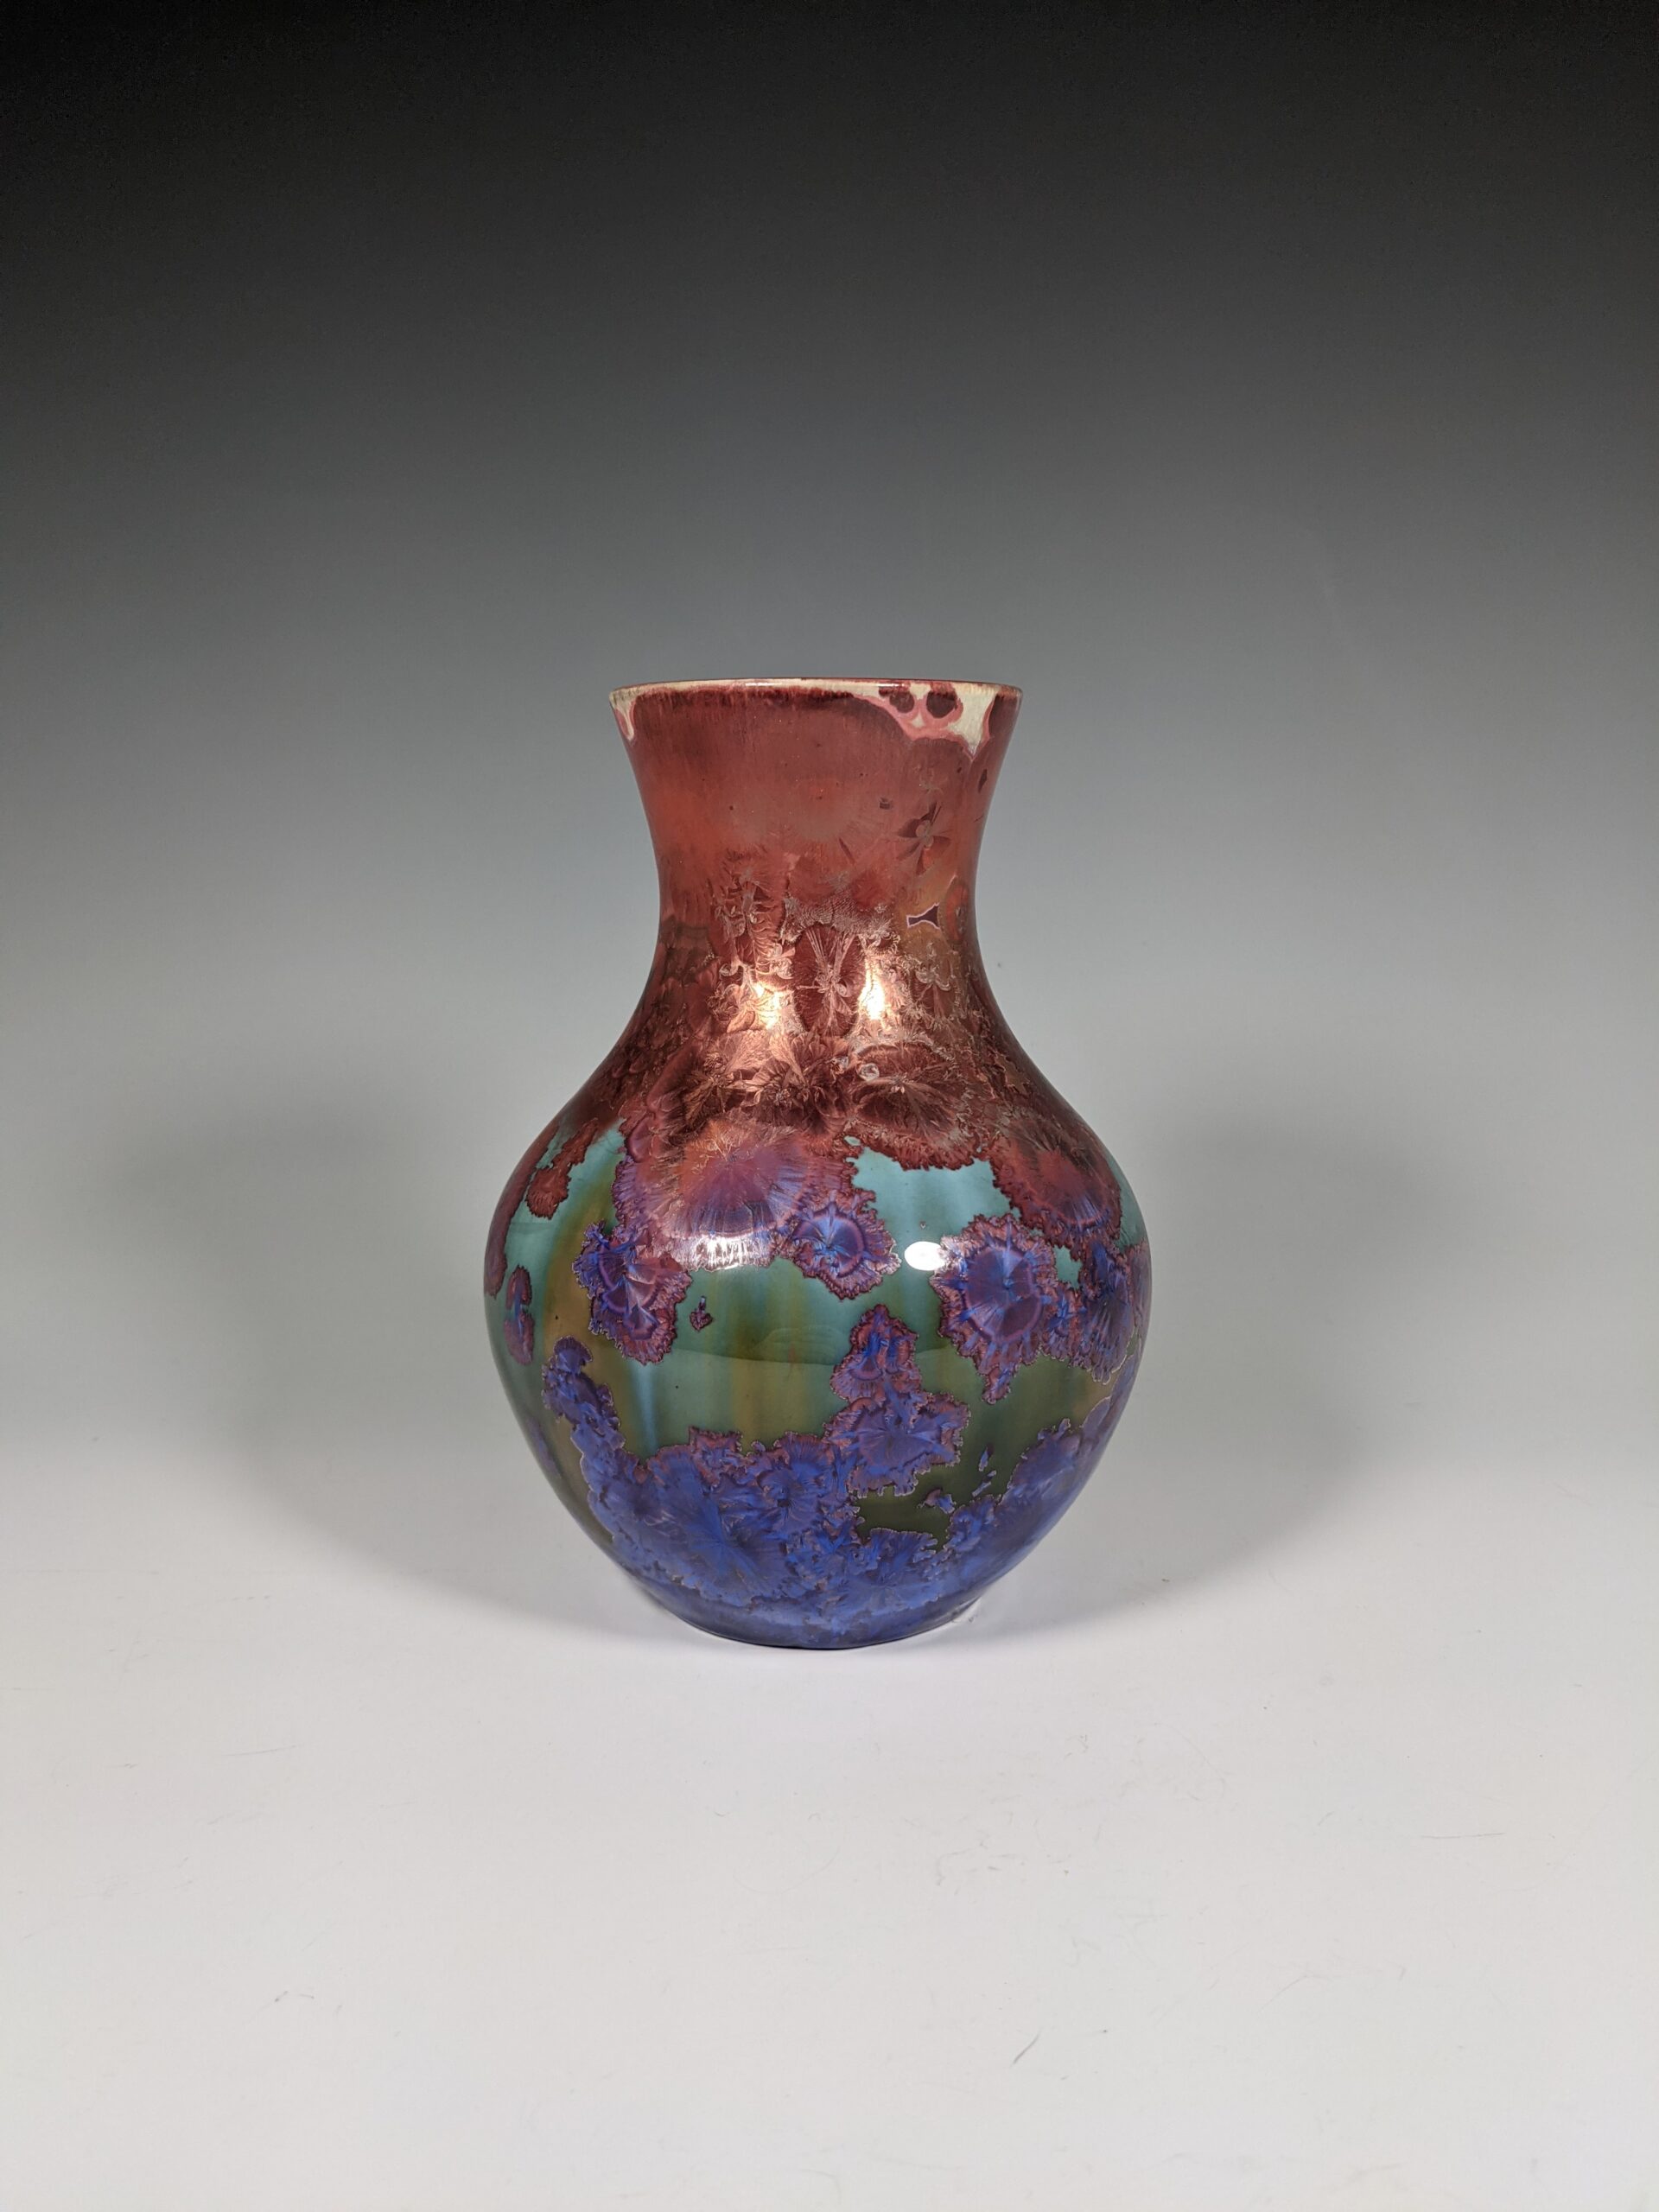
A reduction firing is another process that I utilize to achieve certain colors that I can’t create naturally with my glazes. Coppers, reds and pinks aren’t able to be attained without using a stain or dye on the clay. So in order for me to achieve these colors I do a post fire reduction firing with my pieces. I place fully finished pieces in the reduction kiln to be fired again. This is not with out its risks. Fully finished pieces don’t like to be heated to 1300-1500 and then cooled quickly once they have went threw a glaze firing. I have shattered entire reduction kiln loads before.
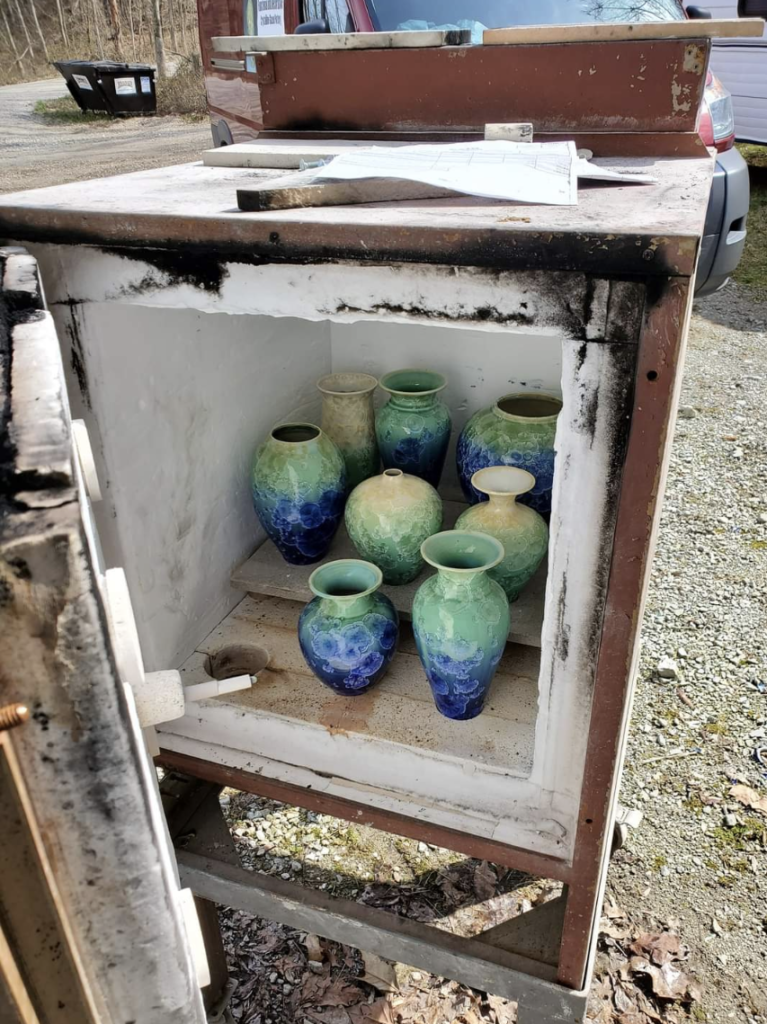
The main goal during a reduction firing is to restrict and eliminate oxygen in the kiln so that the metallic oxides like copper and cobalt convert to their reduced metallic state. One of the earth metals I use in my green glaze is copper. The green topped vases you see in the photo when reduced will turn a copper red metallic color if done correctly.
Reduction is just as tricky as crystalline glazes. I have to constantly check the kiln temperature and make sure its not heating up too fast or I will blow up the pots. Or if it reduces for too long I don’t quite get the colors I’m wanting. I have been firing post fired reduction for a couple years now and am very excited about the process and how my pieces are turning out. I love that it’s yet another artistic avenue for me to explore.